Angkor Wat Sunrise Photography: Best Spots and Tips
Get the best photos of the Angkor Wat sunrise. Learn where to stand, which camera settings to use, and how to avoid the biggest crowds.
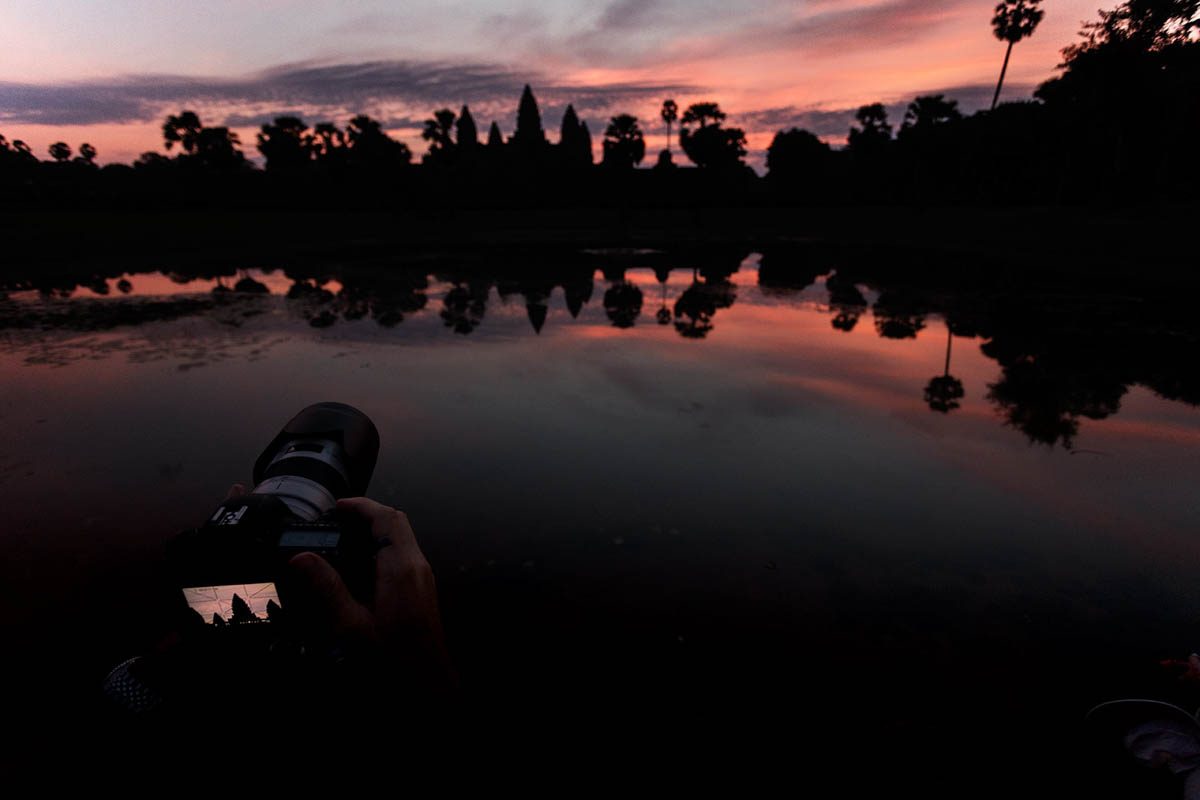
The Appeal of the Angkor Wat Sunrise
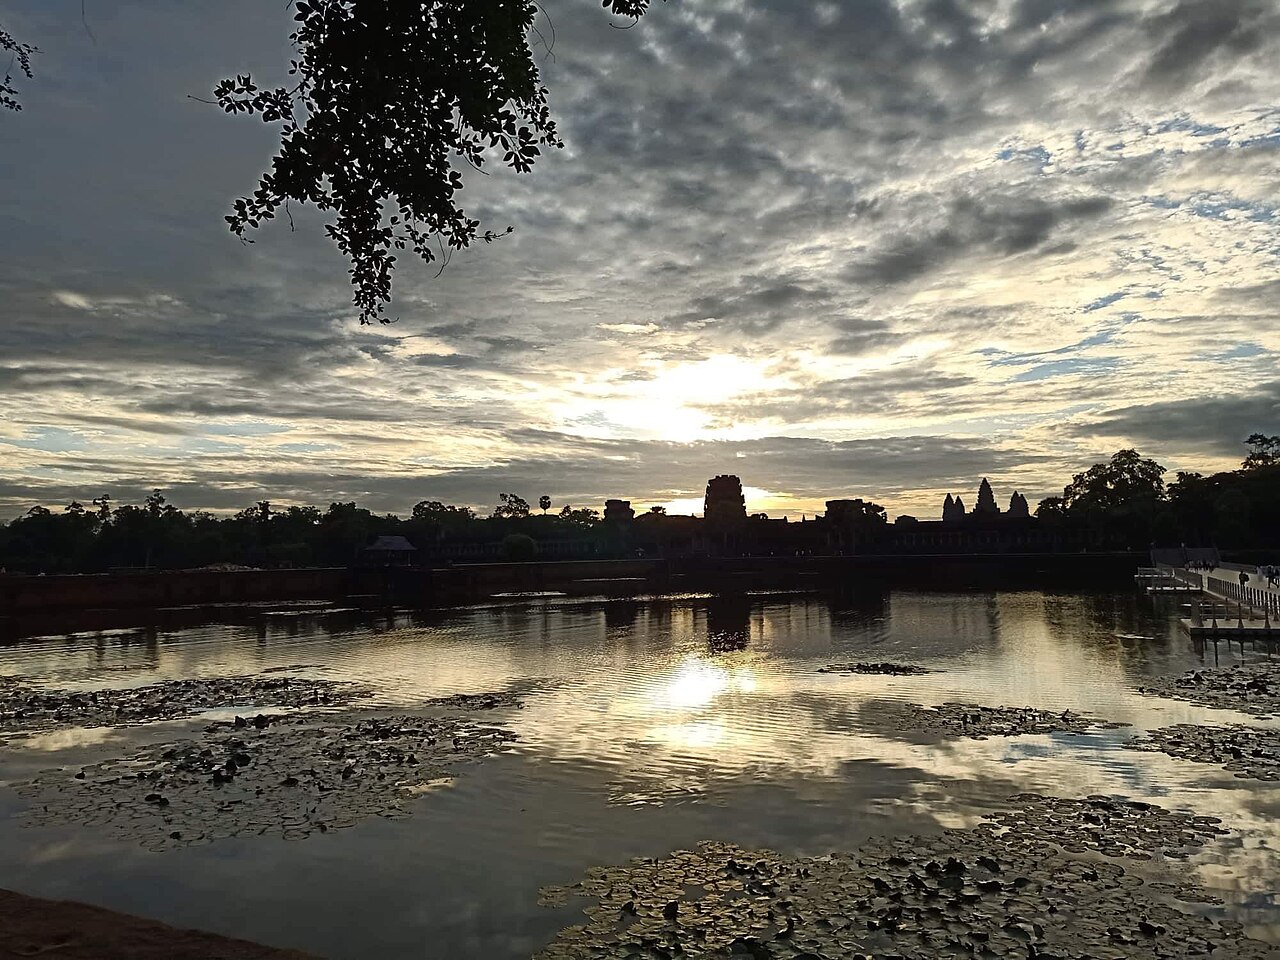
Photo: shankar s. from Poona (pune), India, India / CC BY 2.0 / Wikimedia Commons
Standing before the five towers of Angkor Wat as the sun rises is a standard experience for photographers. But there is a big difference between a tourist snapshot and a professional image. Success comes down to preparation and positioning. The light changes fast and the crowds move in predictable ways, so you have to be ready.
Most people arrive at the same time and stand in the same spot, which leads to identical photos. To get something different, focus on storytelling. Look past the obvious reflection and find angles that show the scale and history of the Khmer Empire's most famous temple.
Best Angkor Wat Sunrise Spots
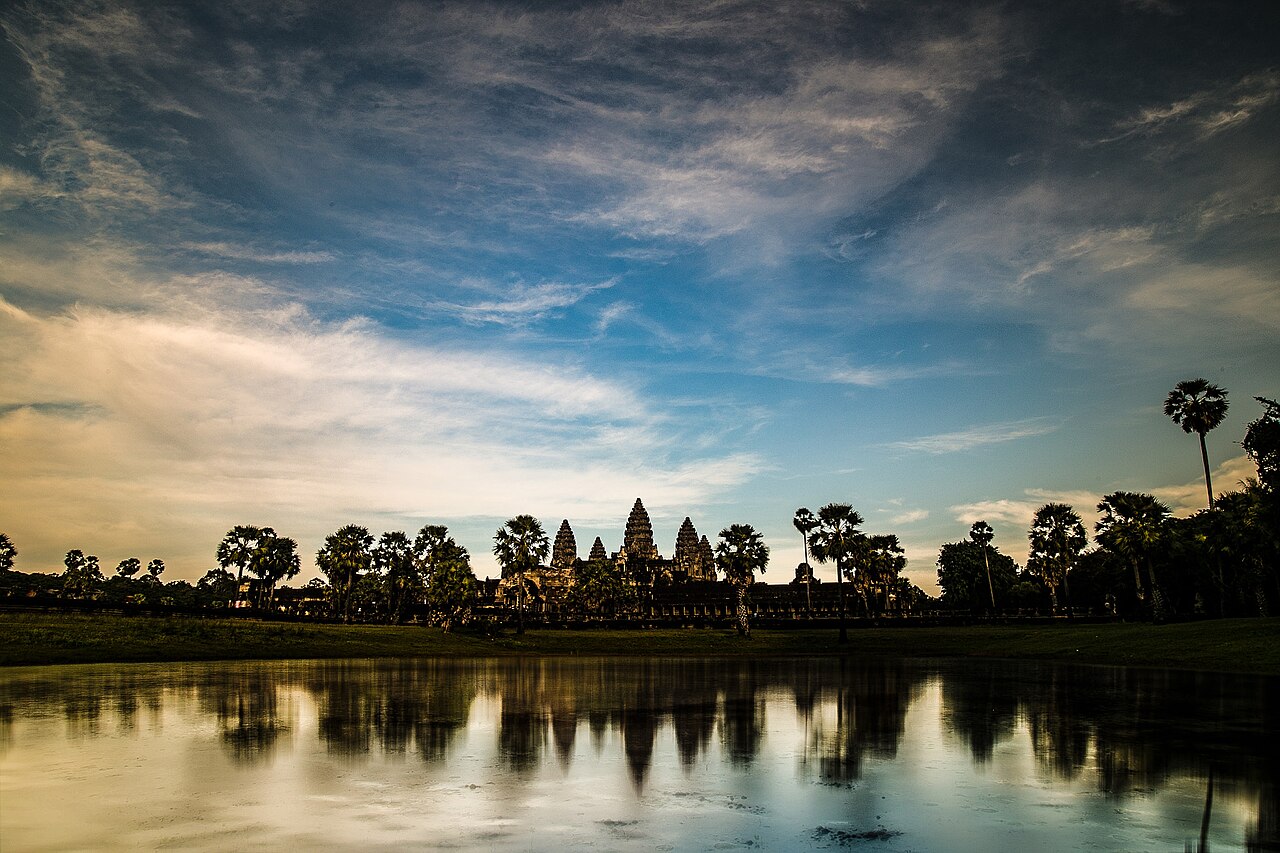
Photo: Kumiko Nakashima / CC BY-SA 3.0 / Wikimedia Commons
Finding a good spot requires balancing your proximity to the temple with the need to avoid crowds. The main reflection pond is the most popular, but it is also the most packed.
The North Reflection Pond
This is the classic shot where the pond mirrors the temple silhouette. To get a clean shot, you need to arrive by 4:30 AM or earlier. The only way to avoid the crowds at Angkor Wat is to claim your space before the tour buses arrive.
Position yourself slightly left of center for a more dynamic composition. Use a wide angle lens to fit both the water and the spires in the frame. If the pond is too full, look for smaller puddles from recent rain to get a similar reflection.
The Left-Side Causeway
If you want to show scale, use the causeway leading to the main entrance. Shooting from the left side creates perspective lines that lead the viewer toward the temple. This area is usually less congested than the pond and offers a cleaner look at the architectural symmetry.
The Inner Courtyard and Galleries
Once the sun is up, the inner galleries offer great light and shadow. As the sun rises, light filters through the stone pillars in dramatic rays. This is where the low light matters most. The warm, directional light brings out the texture of the ancient sandstone and the detail in the bas-reliefs.
Essential Sunrise Camera Settings
Lighting at Angkor Wat shifts from deep blue to orange and then to a harsh white in about 90 minutes. Your settings need to be flexible.
Exposure and ISO
Use a low ISO (100 or 200) to avoid noise. Because you are shooting in low light, you need a tripod. Use a slow shutter speed to let in enough light, but watch the sky so you do not overexpose it.
If you shoot in RAW, you can recover shadow detail, but blown-out highlights in the sky are harder to fix. Underexpose by 0.3 to 0.7 stops to keep the sunrise colors saturated and the silhouettes sharp.
Aperture for Depth and Detail
For wide landscapes, an aperture of f/8 to f/11 is usually best. This keeps everything from the foreground to the towers in focus. For detail shots of carvings in the warm morning light, open up to f/2.8 or f/4 to blur the background and isolate the subject.
Focus and Stability
Autofocus often fails in the pre-dawn dark. Switch to manual focus and use live view to zoom in on the spires to make sure they are sharp. Make sure your tripod is steady on the sand or stone to prevent blur during long exposures.
Gear Guide for Angkor
Your gear determines what you can capture. While one lens can work, a few specific tools help.
The Wide Angle Lens
A wide angle lens (16-35mm on full frame) is necessary for the scale of the temple. It lets you fit the pond and the sky in one frame. Just be careful not to use it too aggressively, as it can distort the temple's proportions.
Telephoto for Compressed Perspectives
A 70-200mm lens is a great tool here. By zooming in from a distance, you compress the perspective, making the towers look closer and more imposing. This is also the best way to photograph monks in saffron robes without getting in their way.
Tripod Stability
Tripod rules at Angkor Wat are generally relaxed, but do not block walkways or other tourists. A lightweight carbon fiber tripod is a good choice since you will be walking a lot between spots.
Tactical Advice for Avoiding Crowds
You will rarely find a completely empty Angkor Wat at sunrise, but you can minimize the people in your shots.
The Early Arrival Strategy
The first wave of tourists usually hits around 5:00 AM. If you arrive by 4:15 AM, you can scout the area and find a spot others miss. The darkness lets you set up your composition before the scene is revealed. For more tips on finding quiet spots, see our guide to finding quiet spaces.
Using Long Exposures
If you have a Neutral Density (ND) filter, use long exposures of several seconds. This blurs moving people into a haze or makes them disappear, leaving only the static temple.
Alternative Angles
Most people face the temple head-on. Try turning 45 degrees. Look for framing elements like tree branches or stone doorways. Using a natural frame can hide crowds on the edges and make the photo feel more secluded. You can learn more about this in how to find hidden photo spots away from crowds.
Mastering the Golden Hour
The golden hour is about how light hits the stone.
The Blue Hour Transition
The period before sunrise, the blue hour, has a cool palette. This is the time for moody shots. The temple silhouette against an indigo sky creates a sense of anticipation.
When the Light Peaks
When the sun breaks the horizon, the light turns gold. This light is soft and highlights the three-dimensional quality of the carvings and the weathered surfaces of the ruins. This is a great time to practice chasing atmospheric sunsets.
Managing Mid-Morning Light
By 8:00 AM, the sun is high and shadows are harsh. Move inside the temple then. The dark corridors and galleries provide shade and a different lighting challenge. Use a fast lens or higher ISO to capture the dim interiors.
Visual Storytelling
To create a real series, you need a narrative. One sunrise photo is a postcard; a collection is a story.
The Human Element
Include the people who live and work there. The contrast between grey stone and the orange robes of a monk is a strong visual. Capture the expressions of other travelers or the temple guards.
Detail and Macro Work
Balance wide shots with tight details. The Apsaras carved into the walls are impressive. Use a macro lens or tight crop to show the jewelry and expressions of these figures.
The Journey
Start your story before you reach the pond. The tuk-tuk ride through the dark jungle and the first glimpse of the towers through the trees are part of the experience. Documenting the trip adds authenticity.
Post-Processing
Editing allows you to refine the mood and fix technical issues.
Balancing Dynamic Range
Sunrise photos often have blown-out skies or dark shadows. Use the highlights slider to bring back cloud detail and the shadows slider for the stone. Avoid over-processing; try to mimic how the human eye sees the scene.
Color Grading
Increase the temperature slightly and add a touch of magenta to the highlights to enhance the warm glow. For blue hour shots, keep the cool tones to emphasize the morning stillness.
Removing Distractions
A stray tourist or a trash can might end up in your shot. Use the healing brush or clone stamp in Lightroom or Photoshop to remove them. Keep it subtle so the image stays honest.
Practical Logistics
Technical skill does not matter if you are not prepared for the environment.
Clothing and Comfort
Cambodia is humid, so wear breathable clothing. Since Angkor Wat is a religious site, you must cover your shoulders and knees. A light linen shirt and long trousers work best.
Hydration and Energy
Starting at 4:00 AM is tiring. Bring water and a high-energy snack. The walk to the reflection pond is longer than it looks, and staying hydrated helps you stay focused.
Respecting the Site
Follow the local rules. Do not climb on fragile ruins or move stones for a better angle. Be a responsible photographer and leave the site as you found it.
Sunrise Shoot Checklist - Arrive by 4:15 AM to secure a spot at the pond or causeway. - Set camera to RAW and use ISO 100-200. - Use a tripod and manual focus for sharpness. - Start with a wide angle lens and switch to telephoto for details. - Underexpose slightly to save the colors of the sky. - Move into the galleries after 7:30 AM for side-lit carvings. - Mix wide landscapes with human elements and macro shots. - Follow the dress code and respect the temple grounds.
By combining these spots with technical execution, you can avoid the worst of the crowds and capture the actual feel of the city. Stay patient and look for the moments that happen between the famous shots.
Official sources
Details worth verifying before you go — checked against:
Travel Writer & Editor
Emily Johnson writes and edits Do Travel Blog. Every guide on the site starts the same way: with a question she actually had while planning — when to book, which pass to buy, how to get from A to B without overpaying. Where a number matters, she cites the source: park tickets link to the park's own fee page, visa rules to the official consulate, ferry times to the operator. Prices get re-checked against those pages before each update, and a guide is re-dated when its numbers move. Nothing here is sponsored — she doesn't accept payment for coverage. Spotted something stale or wrong? Email hello@dotravel.blog and she'll fix it.